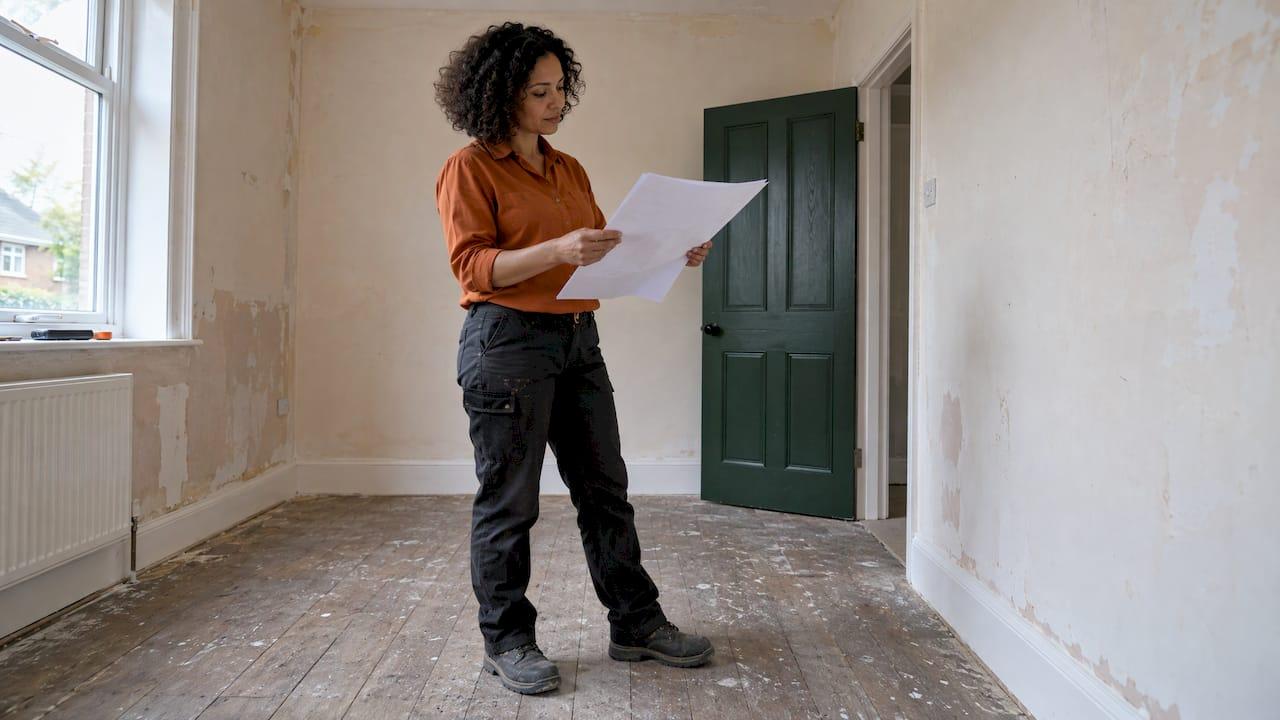
A skirting takeoff is a measured list of every skirting run in a building, in linear metres, with the height, material and profile stated. Under NRM2 you measure it net, run by run, from the floor plans, and you describe it so that a pricer and a checker can both follow it. The method is simple. The errors come from the scale, the doorways and the corners, so this guide spends most of its time there.
It is written for quantity surveyors, estimators, small builders and architects who work from PDF drawings and need a quantity they can stand behind.
TL;DR
- Skirtings are measured in linear metres, net, with height and material stated, in NRM2 Work Section 22 (General joinery).
- Verify the drawing scale on every sheet before you measure anything. One wrong scale carries through every room.
- Measure each wall run corner to corner at floor level, then stop the skirting at door openings, fitted units and other interruptions.
- Record individual runs, not only a total, and tie each to a drawing revision so someone else can check it.
- Round dimensions to the nearest 10 mm as NRM2 requires, and allow for waste once, in the way the rules say.
Table of Contents
- What a skirting takeoff is and what it feeds
- What you need before you start
- Check the scale first, on every sheet
- How to measure skirting runs, step by step
- A worked example: one bedroom
- Doors, gaps and other interruptions
- Where finishes and skirting meet
- Allowing for waste once
- Measured quantity versus cut list
- Record it so someone else can check it
- Common mistakes in skirting takeoffs
- Where QuantiFlow fits
- FAQ
- Sources
What a skirting takeoff is and what it feeds
A takeoff is the step between the drawings and the price. For skirtings it answers one question: how many linear metres of which board are fixed where.
The rule book is NRM2, the RICS New Rules of Measurement for detailed measurement of building works. NRM2 says skirtings are measured net in linear metres, with height and material explicitly stated, and it treats them under Work Section 22 as unframed isolated trims. If you want the wider context on how the standard is organised, our guide to NRM2 explained covers it.
The quantity feeds three things:
- The Bill of Quantities (BoQ). The item sits under general joinery with its description and unit.
- The price. A rate per metre is applied to your quantity, so a 5% error in length is a 5% error in the line.
- The order. Merchants sell stock lengths, which is a separate question from the measured quantity (see the cut list section below).
What you need before you start
Gather these before measuring:
- General arrangement plans for every floor. NRM2 lists general arrangement plans as the drawings that should accompany general joinery, and the minimum information shown is the scope and location of the work.
- The specification or a finishes schedule, which gives skirting height, material, profile and finish. If the drawings are silent, you need a query raised, not an assumption buried in a rate.
- Door schedules and elevations, so you know which openings have architraves, plinth blocks or no skirting at all.
- The drawing revision you are measuring from, noted at the top of your sheet.
A finishes schedule often changes skirting between rooms: a taller board in hallways and living rooms, a plainer one in utility spaces, tile upstands in wet rooms. Each change is a separate item.
Check the scale first, on every sheet
A digital measurement is only as good as its calibration. Sheets in one PDF set can be issued at different scales, and a PDF printed or exported at a different page size can make the scale label wrong while the drawing looks fine.
Before measuring a sheet:
- Read the stated scale in the title block (for example 1:50 or 1:100) and note it against the sheet.
- Find a dimension you can trust, such as a dimensioned wall length, a grid spacing or a door leaf width, and measure it on screen.
- Compare the measured figure with the written one. If they disagree by more than your tolerance, recalibrate on the known dimension.
- Repeat on each sheet, including details and enlarged plans, which usually carry their own scale.
- Prefer written dimensions to scaled ones where the drawing gives them. A figure written on the plan beats a figure measured off it.
This takes a minute per sheet and protects every quantity that follows. Our guide to measuring PDF drawings for NRM2 takeoffs goes further on calibration and vector versus raster PDFs.
How to measure skirting runs, step by step
The sequence below works room by room. It is the same on paper, on screen or in a spreadsheet.
Step 1: Identify the rooms and the walls that get skirting
Work through the plan one room at a time. Mark which wall faces receive skirting. Not every wall does: the back of a fitted wardrobe, a kitchen base-unit run or a bath panel often has none. Toolibo's guide to cut lists makes the same point in simple terms: a room perimeter is a starting number, not the answer.
Step 2: Measure each run at floor level, corner to corner
Measure along the finished wall face where the board will sit. Take each straight run separately and write it down. Do not trace the whole room in one continuous line, because you will lose the individual lengths you need later.
Step 3: Add projections and returns
A chimney breast, a bay, a boxed-in pipe or a column adds runs of its own. Buildbatch's UK measuring guide counts every wall that a chimney breast or bay introduces as a separate run. Measure the face and both sides, then remove the length of wall the projection replaces.
Step 4: Stop the skirting at openings
Skirting does not run across an open doorway. It normally stops against the outside edge of the architrave or a plinth block, so the opening you deduct is measured across the outside of the frame, not the clear door width. This is the most common source of overmeasure, because the clear opening shown on a door schedule is narrower than the width you actually leave without skirting.

Step 5: Deduct anything the skirting will not run along
Fitted cupboards, built-in units and floor-to-ceiling glazing without a upstand are removed from the run. Where a run is interrupted, you have two shorter pieces, not one long one. Record both.
Step 6: Count the labours
NRM2 asks for the dimensioned overall cross-section to be stated and the number and type of labours described. In practice that means counting external angles, internal mitres, stopped ends and any returns, per item, so the pricer sees the work involved beyond the straight length.
Step 7: Total, round and describe
Sum the runs per item (per height and material), apply the rounding rule below and write the description with height, material, profile and finish as the specification gives them.
A worked example: one bedroom
This is an illustrative room, not a real project. The figures are chosen to show the method.
- Room: 4.20 m by 3.60 m, measured internally at floor level
- One door, 0.95 m measured between the outer faces of its architraves
- One chimney breast projecting 0.30 m, 1.10 m wide, on the 3.60 m wall
- Skirting: 119 mm high MDF, as specified
| Item | Working | Length (m) |
|---|---|---|
| Gross perimeter | 2 × (4.20 + 3.60) | 15.60 |
| Door opening, stop at architraves | deduct | -0.95 |
| Chimney breast, two sides | add 0.30 + 0.30 | +0.60 |
| Chimney breast face | replaces the 1.10 m of wall it covers | 0.00 |
| Net skirting | 15.25 |
NRM2 gives the rule for rounding: dimensions are measured to the nearest 10 mm, with 5 mm and over regarded as 10 mm and less than 5 mm disregarded. Here 15.25 m is already at 10 mm precision, so the BoQ line reads along these lines:
Skirtings, 119 mm high, MDF, primed for painting: 15.25 m, with 4 external angles.
The external angles come from the chimney breast corners. Your own count depends on the plan. Our note on NRM2 rounding rules has more examples of where rounding is applied.
Doors, gaps and other interruptions
The general principle in NRM2 is that openings or wants at the boundaries of measured areas should always be deducted irrespective of size, while minimum deduction sizes apply only to voids inside the boundaries of the measured work. A door opening interrupts the run at its boundary, so it comes out in full.
A practical checklist for interruptions:
- Door openings: deduct across the outside of the frame or the architrave.
- Fitted joinery: deduct the full width the unit covers.
- Bay windows: measure each facet as a run, with the angle counted as a labour.
- Stair walls: skirting that follows the stair string is raking and should be kept as its own item. Our guide to NRM2 stair measurement explains how to describe it.
- Thresholds and floor changes: stop the skirting where the finish changes and note the junction.
Where finishes and skirting meet
Skirting sits at the junction of two trades. NRM2 measures wall finishes behind skirtings unless the skirting is installed before the wall finish. That affects plaster and paint quantities, not the skirting length, but you should decide the sequence and keep your wall finish takeoff consistent with it. A paint item that stops at the top of the skirting and a plaster item that runs behind it are not double counting. They are two different rules applied correctly.
Allowing for waste once
Builders working informally often add 10% to a total and move on. In a BoQ that habit causes double counting, because the pricer may also add waste to the rate.
NRM2 handles it directly. Work is measured net as fixed in position, and the net quantity includes the additional material needed for laps, joints and seams as well as waste. So for a measured BoQ:
- Measure the net length fixed in position.
- Do not add a separate percentage in the quantity column.
- Keep ordering allowances for the purchasing sheet, where stock lengths and cuts are worked out.
If you are producing a quote for a small job rather than a formal BoQ, you can combine the two, as long as the document says which it is.
Measured quantity versus cut list
The measured quantity and the order quantity are different numbers, and a small builder needs both.
The measured quantity is the net 15.25 m above. The order depends on how the runs fall into stock lengths. Toolibo notes that two rooms with the same total trim length can need different numbers of boards because their runs differ, and a long wall divided by a doorway creates two pieces whose lengths decide how efficiently they fit into stock.
That is why you record runs individually. With the individual lengths listed, you can:
- reserve the longest stock lengths for long visible walls, where a joint would show;
- use offcuts from long walls for short returns and door reveals;
- allow for saw cuts and mitres, which consume a few millimetres each.
The same run list also helps when a delivery is short. A cut list ordered by room shows quickly which wall is affected, which a single total never does. For the logistics side of large orders, a pallet calculator for efficient loads shows how to think about load configuration when materials arrive in bulk.
Record it so someone else can check it
A takeoff that only you can follow is a risk to the practice. Whoever reviews it, whether a senior QS, a client's cost consultant or you in six months, needs to retrace every metre.
Good practice for skirting:
- Name each run by room and wall, for example G.04 / North wall.
- Link each run to the BoQ item code and to the drawing revision it was measured from.
- Keep the working (the deductions and additions) beside the total, not only the answer.
- Mark the sheet so the reviewer can see which walls are measured and which are excluded.
RICS guidance on cost management supports the principle: a rigorous audit trail should let quantities be checked and updated, with each quantity traceable to its source drawing revision. The same guidance warns that data integrity must be managed when measurements move between software systems. If your quantities pass between drawing tools, spreadsheets and design models, see this overview of BIM and analysis software workflows for how teams keep data consistent between systems.
Our pieces on audit-ready NRM2 takeoff rules and practical QA steps for NRM2 measurement mistakes set out checks you can apply to skirting and every other section.
Common mistakes in skirting takeoffs
| Mistake | Effect | Fix |
|---|---|---|
| Unchecked scale | Every length wrong by the same factor | Calibrate on a known dimension per sheet |
| Using the room perimeter | Overmeasure at doors and units | Measure runs, then deduct |
| Deducting clear door width | Skirting left in the opening | Deduct to the outside of the architrave |
| Missing returns | Short quantity at projections | Count every face and side |
| Waste added twice | Inflated BoQ line | Measure net, keep ordering allowances separate |
| One height assumed | Wrong rate in some rooms | Check the finishes schedule per room |
| No drawing revision noted | Quantity cannot be traced | Record revision on every sheet |
Where QuantiFlow fits
QuantiFlow is in development. It reads construction drawings and produces a draft Bill of Quantities for a quantity surveyor to review and sign off. You can find out more on the QuantiFlow site.

The checks in this guide remain yours: the scale, the interruptions, the description and the sign-off.
FAQ
How do you measure skirting board from a drawing?
Check the scale, then measure each wall run at floor level, corner to corner, and add projections such as chimney breasts. Deduct door openings across the outside of the frame and any fitted units. Total per height and material, and record the individual runs.
What unit is skirting measured in under NRM2?
Linear metres. NRM2 requires the height and material to be stated, and the number and type of labours to be described. Skirtings fall under Work Section 22, General joinery.
Should I add waste to a skirting quantity?
Not in a measured BoQ. NRM2 measures net as fixed in position and its measurement rules already cover the additional material for joints and waste. Put ordering allowances on a separate purchasing sheet.
Do you deduct doorways from skirting?
Yes. Skirting stops at the outside edge of the architrave or plinth block, so the doorway is deducted. NRM2 also says openings at the boundaries of measured areas are deducted whatever their size.
Sources
- NRM2 detailed measurement for building works (RICS, October 2021 edition)
- New rules of measurement NRM2 (RICS, October 2022 print)
- BIM for cost managers: requirements from the BIM model (RICS, August 2015)
- How to measure for skirting board, beading and scotia (Buildbatch)
- How to measure skirting boards and calculate lengths (Univers Construct)
- Measure skirting as a cut list, not just a room perimeter (Toolibo)
- Integrating BIM with FEA solvers: workflow best practices (Aman Engineering)
- Pallet calculator to be efficient (Van-247)
Recommended
- Drylining Takeoff: A Practical Method for UK Quantity Surveyors
- Plasterboard Takeoff: Six Steps UK QSs Can Audit Before Tender
- Role of drawings in quantity measurement: a UK guide
- Drawing symbols for takeoff: a practical guide
This article is for general information only and is not professional, legal or commercial advice. Quantity surveying decisions should be taken by a qualified professional with reference to the specific project, drawings and contract in question. Content is produced with AI assistance and reviewed before publication. QuantiFlow Ltd accepts no liability for reliance on it.