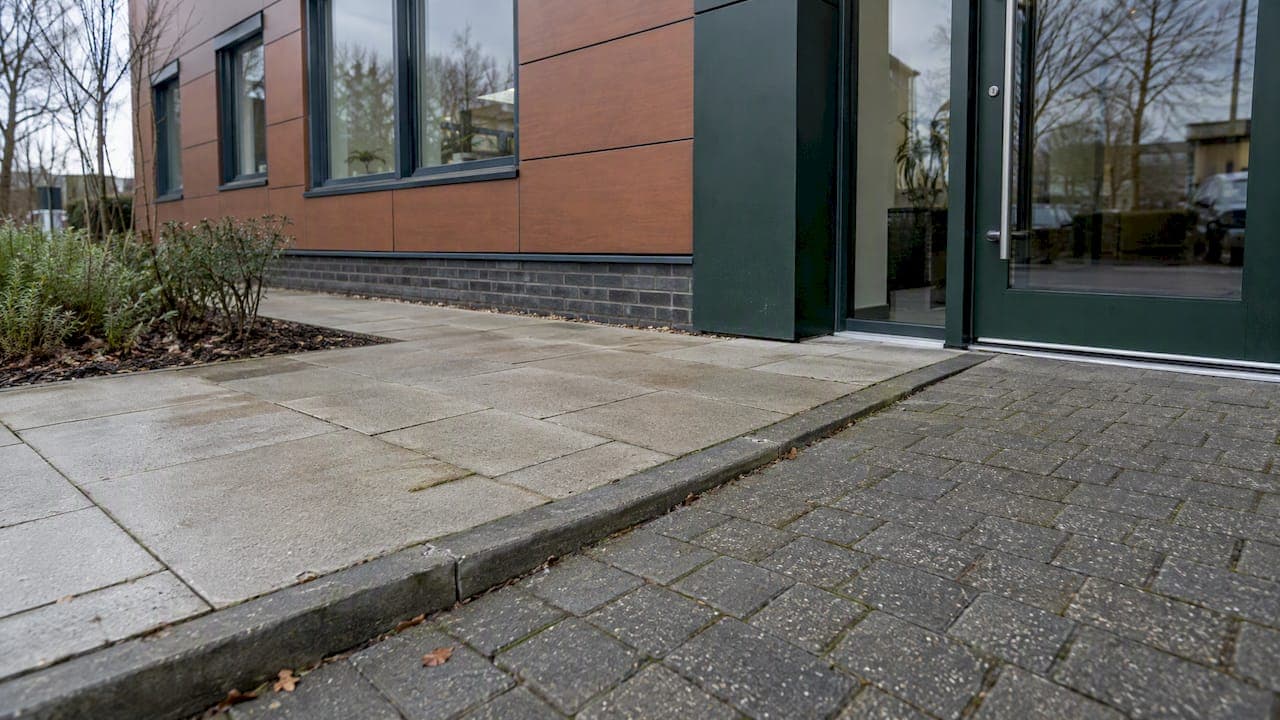
A paving takeoff is the measured record of every surface, edge, bedding layer and accessory shown on the drawings and described in the specification, listed with a unit and dimensions so it can be priced. A cladding takeoff follows the same logic on the vertical plane. This guide sets out how to prepare both for UK work, which components to record, which units to use, and how to check the result before it goes into a bill of quantities.
TL;DR
- Read the specification before you measure. The build-up (paver, bedding, sub-base, restraint) decides what you list, not the hatch on the plan.
- Record each distinct component with its NRM 2 work-section description, unit and dimensions in length, width, height order. Keep different specifications on separate lines.
- Typical units: m² for surfaces and cladding faces, m for edges, copings, trims and joints, m³ where volume is the pricing basis, and number or item for discrete features.
- Stop and query any conflict between drawing and specification before you carry on measuring.
- Check the finished takeoff against the drawing revision, the specification and a simple perimeter-and-area sense check.
Table of Contents
- What a takeoff is, and how it differs from an estimate
- Gather the right documents first
- How to prepare a paving takeoff
- A worked paving example
- Units and dimensions for paving and cladding
- How to prepare a cladding takeoff
- Openings, layers, waste and allowances
- Checking the takeoff before it goes out
- Measuring on screen
- Where QuantiFlow fits
- FAQ
- Sources
What a takeoff is, and how it differs from an estimate
A takeoff is the measurement stage. You work from drawings and specifications and produce quantities: areas, lengths, volumes and counts. In traditional pre-tender practice the output is an unpriced bill of quantities, which is the kind of measurement covered in university-level quantity surveying course material on measurement and quantification.
An estimate is the next step. It applies rates, preliminaries, overheads and risk to those quantities and arrives at a price. Keeping the two apart matters for paving and cladding because the same 120 m² of paving can be priced very differently depending on access, laying pattern and ground conditions. None of that should be hidden inside the quantity. The quantity says what is there. The rate says what it costs to build.

Gather the right documents first
Paving and cladding are specification-led trades. The drawing tells you where and how much; the specification tells you what. Before measuring, collect:
- General arrangement and landscape plans for extents, setting-out and zones.
- Level and drainage drawings for falls, kerb heights, gullies and chambers.
- Construction details for edges, thresholds, movement joints and cladding fixings.
- The specification and any schedules, including finish, colour, jointing and sealing.
- Elevations and sections for cladding, with the support structure shown.
- Addenda and revision notes, so you are measuring from the current issue.
Specifications often state their own process. A landscape specification on a UK planning file, for example, requires technical submittals for specified elements to go to the Landscape Architect before samples are ordered. That tells you the product may not be final at tender, so say so in the bill rather than assuming a make.
How to prepare a paving takeoff
1. Break the paving into zones
Divide the site by specification, not by convenience. Vehicular and pedestrian areas usually carry different build-ups. A feature band in a different paver is a separate item even if it sits inside a larger field. Name each zone clearly (for example, Zone A, rear terrace) and use that name on every line that belongs to it.
2. Pull the build-up from the specification
A real UK paving specification shows what to expect. One public-sector paving specification on Contracts Finder records the paving area in m², paver size and thickness (200 × 100 × 60 mm), a 100 mm sub-base, a 25 to 40 mm sand bed, concrete bed and haunch dimensions where applicable, falls and levels, edge restraints, cuts, and jointing and sealing. Use a list like that as your own prompt. If a layer is in the specification and absent from your takeoff, something has been missed.
3. Measure the surface
Measure each zone's area in m² from the drawing. On vector PDFs you can measure from the geometry; on scans you must calibrate to a known dimension first and note the scale used. Record the paver type, size, thickness, finish and laying pattern in the description. Where the surface is laid to falls, record that in the description and not in the quantity.
4. Measure the edges and restraints
Kerbs, edge restraints and setts are linear items. The same Contracts Finder specification records a 41.5 lin m sett run in linear metres, not by area. Do the same: measure along the line, record the section size and bedding, and list corners, returns and radii separately if the specification prices them differently.
5. Add layers beneath
Sub-base, sand bed, concrete bed and haunching each get their own line. Use m² where the layer is described by a stated thickness, and m³ where volume is the pricing basis. Whichever you choose, state the thickness in the description so the reader can reconstruct the number.
6. Count the interruptions and the extras
Chambers, gullies, tree pits, bollards, drainage channels and steps interrupt the field. List them as numbers or linear items, record their sizes, and note how you have dealt with the void in the surrounding area. Cuts around these features belong in the record too, because the specification may price them separately.
7. Record jointing, sealing and finishing
Jointing material, sealing and any surface treatment are easily lost between drawing and specification. Give them their own lines with the unit the specification implies, normally m².
A worked paving example
This is an illustration with invented dimensions, not project data. Take a rectangular terrace 8.00 m by 5.00 m, laid in 200 × 100 × 60 mm blocks on a 100 mm sub-base and a 30 mm sand bed, with a concrete-haunched edge restraint on all four sides and one 0.60 m by 0.60 m chamber cover in the field.
| Item | Description | Unit | Working | Quantity |
|---|---|---|---|---|
| Paving surface | 200 × 100 × 60 mm blocks, laid to falls, jointed | m² | 8.00 × 5.00 = 40.00 | 40.00 |
| Void: chamber cover | 0.60 × 0.60 m, recorded separately | m² | 0.60 × 0.60 | 0.36 |
| Sand bed | 30 mm thick | m² | 8.00 × 5.00 | 40.00 |
| Sub-base | 100 mm thick | m² | 8.00 × 5.00 | 40.00 |
| Edge restraint | Haunched, section as detail | m | 2 × (8.00 + 5.00) | 26.00 |
| Chamber cover surround | Cut paving around cover | m | 4 × 0.60 | 2.40 |
The point of the table is traceability. Anyone checking it can see the dimension order, the working and the unit. If the specification changes the sand bed to 25 mm, you amend one description and the quantity stands.
Units and dimensions for paving and cladding
The RICS New Rules of Measurement (NRM 2) provide the uniform basis for measuring and describing building works for bills of quantities, and their work sections include cladding and covering and site works. A practical working summary of what to record:
| Component | Usual unit | What to put in the description |
|---|---|---|
| Paving surface | m² | Material, size, thickness, finish, pattern, falls |
| Cladding face | m² | System, material, thickness, finish, fixing method |
| Kerbs, edges, restraints | m | Section size, bedding, haunching |
| Copings, flashings, trims, joints | m | Profile, material, girth or width |
| Excavation, concrete, bulk layers | m³ | Depth, material, disposal basis |
| Chambers, gullies, fixtures | nr or item | Type, size, location |
The RICS guidance on the tables is that the Level-one descriptions carry the information needed to describe each component, including dimensions, with Level-two and Level-three fields for further requirements. Use them as written rather than inventing your own wording.
On dimension order, NRM 2 uses length, width, height. Where a component's width would normally be called its depth, say which you mean wherever ambiguity could arise. A 100 mm sub-base is a thickness; a 300 mm trench is a depth. Say so.
For the rules in more detail, see our guides to NRM2 explained and NRM2 takeoff rules for audit-ready bills.
How to prepare a cladding takeoff
Cladding looks simpler than paving because it is mostly area. In practice the cost sits in the support and the details.
1. Separate systems by elevation and specification
Start from the elevations. Record each cladding type as its own group: rainscreen panel, timber board, render system, stone, metal sheet. Within a group, separate by finish, thickness, colour and fixing method if the specification does so.
2. Establish the gross area, then the openings
Measure the gross elevation area for each system in m². Then identify every window, door, louvre and vent from the window schedule and the elevation, and record each opening's size. Check that the schedule and the elevation agree on the number and size of openings before you rely on either.
3. Record the support structure
Cladding rarely stands alone. The specification may call for battens, rails, brackets, sheathing boards, insulation and membranes, each with a unit. Stone systems in particular are often supported by bespoke steel or concrete structures, with mechanical restraint fixings specified by engineers or specialist suppliers. Where that design is not complete at tender, NRM 2 gives you a route: it addresses quantification and description of non-measurable work items, contractor-designed works and risks in bill production. Use it rather than guessing quantities for work no one has designed.
4. Measure the linear details
Reveals, cills, copings, flashings, corner trims, movement joints and stop-ends are measured in metres. These are the items most often missed on a cladding takeoff, because they appear on the details sheet and not on the elevation. Work through the section drawings line by line and tick each component off against your list.
5. Count the penetrations and fixtures
Brackets for signage, meter boxes, vents and downpipe fixings interrupt the cladding. Count them and record their sizes if the specification prices cutting or making good around them.
Openings, layers, waste and allowances
Four questions come up on almost every paving and cladding job.
Openings and voids. Record them as separate items with their sizes, and state in the description how the surrounding area has been measured. This lets the reviewer see what has been deducted and why. Our guide to avoiding NRM2 measurement mistakes covers the common slips in more depth.
Material layers. Give each layer in the build-up its own line and state its thickness. Do not collapse a sub-base, bedding and surface into one lump unless the specification does.
Waste and cutting. Be explicit about where it lives. Many practices let the rate carry cutting waste, others add an allowance to the quantity. Either can be defensible, but hiding an allowance inside a measured figure makes the takeoff impossible to audit. If you add one, show it as a visible, labelled line or note, and follow your firm's own convention.
Provisional and contractor-designed items. Where information is missing, say so in the bill and carry a provisional item or a stated assumption. A missing item with a clear note is better than a silent guess.

Checking the takeoff before it goes out
A second look pays for itself on these trades, because most errors come from the documents, not the arithmetic.
- Confirm the revision. Match the drawing numbers and revision letters in your takeoff to the current issue, and check any addenda. Our seven-step triage for tender addendum quantities is built for this.
- Compare drawing and specification. Where they conflict, raise it. Specifications commonly instruct contractors to notify the project team immediately of inconsistencies between drawings and specifications before proceeding, and a tendering surveyor should follow the same discipline by raising a query and noting the assumption used meanwhile.
- Reconcile area and perimeter. An edge length that cannot be reconciled with the area it encloses points to a missed zone or a mis-scaled measurement.
- Walk the specification clause by clause. Each material, layer, fixing and finish clause should map to at least one takeoff line, or to a note explaining why not.
- Check units and dimension order. Mixed units (mm in one line, m in the next) are a common source of tenfold errors.
- Have someone else read it. A reviewer who did not measure it will question the descriptions you have stopped seeing.
A similar audit approach applies to other finishes. Our guides to tiling takeoff and house extension takeoff show the same method on different trades.
Measuring on screen
On-screen measurement removes the scale rule, but not the need for judgement. Calibrate every sheet, keep one layer or colour per specification, and label each measurement with its zone name. Reading a building contracting guide alongside your drawings can also help when you are coordinating drawing measurements with paving specifications before pricing. Whatever the tool, the discipline is the same: every figure should trace back to a drawing reference and a specification clause.
Where QuantiFlow fits
QuantiFlow is in development. It is designed to read construction drawings and produce a draft bill of quantities for a quantity surveyor to review and sign off, with the surveyor's judgement staying in the loop. You can find out more on the QuantiFlow site.
FAQ
What is the difference between a takeoff and an estimate?
A takeoff measures quantities from drawings and specifications. An estimate applies rates and other costs to those quantities to produce a price. Keeping them separate makes both easier to check.
Which unit should I use for paving?
Use m² for the paved surface and for layers described by a stated thickness. Use metres for edges, kerbs and restraints, and m³ only where volume is the pricing basis. Follow the applicable NRM 2 table and state thicknesses in the description.
How do I handle cladding openings?
Measure the gross elevation area, then record each opening separately with its size from the window and door schedules. State how the opening has been treated in the surrounding area so a reviewer can follow it. Measure reveals, cills and trims in metres.
What should I do when the drawing and specification disagree?
Raise a query with the project team before you price the affected item. Record the assumption you have used in the meantime. This is the same step specifications ask contractors to take on site.
Does NRM 2 apply to paving and cladding?
Yes. NRM 2 sets out detailed rules for measuring building works for bills of quantities, and its work sections include cladding and covering and site works. Check the specific table for the component you are measuring.
Sources
- RICS, New Rules of Measurement (NRM 2), October 2022 reissue
- RICS, NRM 2 (October 2021 edition)
- NRM 2: Detailed measurement for building works, dimension conventions
- Contracts Finder, UK paving specification
- Landscape specification, Kirklees planning application 2024/92339
- Measurement and Quantification of Construction Work, course material
Recommended
- Masonry Takeoff From Plans: 5 Moves to a Traceable BoQ for UK QSs
- Concrete quantity takeoff: a practical guide for UK estimators
- Plasterboard Takeoff: Six Steps UK QSs Can Audit Before Tender
- Survey First Refurbishment Quantity Takeoff for UK Quantity Surveyors
This article is for general information only and is not professional, legal or commercial advice. Quantity surveying decisions should be taken by a qualified professional with reference to the specific project, drawings and contract in question. Content is produced with AI assistance and reviewed before publication. QuantiFlow Ltd accepts no liability for reliance on it.