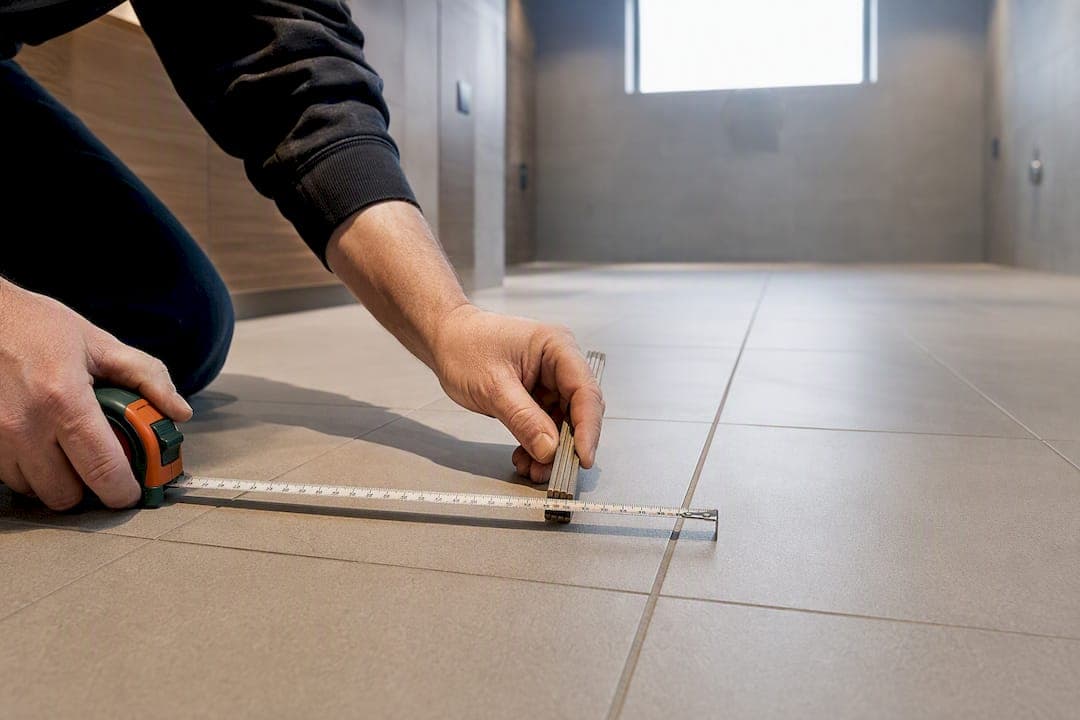
A tiling takeoff is the measured quantity and description of wall and floor tiling, taken from drawings and set out as Bill of Quantities lines under NRM2. It is measured in square metres and structured to NRM2's classification levels so contractors price against identical scope. Before anything else, pull the latest drawing revision and specification, then mark every tiled room or zone on the layout before you measure a single line.
TL;DR:
- Accurate tiling takeoffs require confirming the latest drawings and marking tiled zones systematically to avoid errors from outdated or incomplete plans.
- Quantities should be broken down by NRM2 group and sub-group, with special items like thresholds and skirting measured separately to prevent scope ambiguity.
- Cross-checking floor and wall details, especially for wet areas, reduces disputes caused by mismatched fall diagrams or waterproofing interfaces.
- Using BIM models can accelerate measurement but must be validated against drawings to ensure compliance with NRM2 standards.
- A thorough assumptions log and a room-by-room breakdown improve traceability, supporting clear pricing and justified variations during the contract.
Table of Contents
- What must an NRM2‑aligned tiling takeoff include?
- Stepwise workflow: from drawings to NRM2-ready quantities
- Which NRM2 measurement rules apply to tiling?
- QA checklist and common pitfalls in tiling takeoffs
- What does a tiling BoQ line actually look like?
- How Quantiflow fits into an NRM2 tiling takeoff
- Where to check the rules yourself
- Sources
- FAQ
What must an NRM2‑aligned tiling takeoff include?
NRM2 organises building works into 41 work sections, and floor and wall tiling fall under Section 28, measured in square metres (m²). That single fact sets the unit of measure, but it does not tell a contractor what they are actually pricing. The description has to do that work.
A BoQ built to NRM2 follows a classification structure of group, sub-group, and work item, so two contractors reading the same line arrive at the same scope. Skip that discipline and you get qualified tenders, which defeats the point of a BoQ.
Each tiling item description should carry:
- Tile type, size, and finish (ceramic, porcelain, natural stone, mosaic)
- Laying pattern and joint width, where these affect labour
- Substrate condition and any preparation implied (screed, plywood, existing tile)
- Complexity factors: falls to gullies, curved returns, feature borders
How much detail you add depends on what the project actually gives you. A detailed finish schedule and large-scale details let you write tight, unambiguous descriptions. A sketch plan with "tiling as spec" scribbled on it means you flag assumptions and chases the design team before pricing goes out.
Stepwise workflow: from drawings to NRM2-ready quantities
A tiling takeoff runs better as a fixed sequence than as an ad hoc measure. Treat it the same way every time and your quantities become checkable, and your assumptions become traceable when a query lands six weeks into the contract.
- Confirm the drawing set. Check revision status, scale, and that the finish schedule matches the floor plans you're measuring from. A superseded drawing is the single most common cause of a wrong quantity.
- Mark tiled zones on the plan. Walk every floor and wall surface room by room and flag which are tiled, which are part-tiled (splashbacks, dado height), and which are excluded.
- Measure gross area first, then subtract. Take the full room area, then deduct sanitary runs, kitchen units, or any zone excluded from tiling using reliable floor measurement techniques to ensure accuracy. Record the reference for each deduction so a reviewer can follow your logic without asking.
- Separate special items. Plinths, upstands, skirting tiles, and thresholds are usually priced differently to the main body of tiling. Keep them as distinct work items rather than folding them into the m² rate.
- Organise by NRM2 work section order. Group your measured quantities so they sit in the same sequence a contractor expects to see them, then export to the format your tender process needs.
NRM2 guidance recommends a room-by-room or area-by-area breakdown for finishes such as tiling, specifically because finishes are where completeness slips. A missed en suite or a double-counted lobby rarely shows up until the contractor's variation account does.
Pro Tip: Keep a running "assumptions log" alongside your takeoff, not buried in a note at the bottom of a spreadsheet. When a tiling variation surfaces at month four, that log is what proves your measurement matched the information available at the time, not guesswork.
Which NRM2 measurement rules apply to tiling?
The rules themselves are short, but getting them wrong is expensive. A handful of prescriptive habits will keep your tiling BoQ dispute-proof.
- Measure wall and floor tiling in m² unless the specific work item calls for a different unit.
- Measure trims, edge beads, and thresholds in linear metres or as a number (nr), never folded into the tiled area.
- Map every item to its correct NRM2 group, sub-group, and work item so contractors aren't left guessing where scope sits.
- State inclusions and exclusions explicitly. A QS should avoid relying on "deemed included" assumptions for anything that carries real price risk, such as waterproof tanking membranes, adhesive type, or battening behind large format porcelain.
- If quantities come from a BIM model, validate them against the drawings at the agreed Level of Development before they go anywhere near a BoQ.
Tiling frequently makes up a meaningful share of a fit-out budget, which is one reason granular, room-level measurement matters more here than on many other finishes: a rate error on a large tiled floor moves the whole cost plan more than the same percentage error would on skirting or paint.
QA checklist and common pitfalls in tiling takeoffs
Most tiling variations trace back to the same handful of oversights, so a short audit pass before sign-off catches the majority of them.
- Check cuts and offsets around fixtures, obstructions, and irregular room shapes.
- Confirm abutments to other finishes (carpet edges, timber flooring, external thresholds) are shown and quantified separately.
- Look for movement joints, which NRM2 treats as distinct from the general tiled area.
- Verify tile size and laying pattern against the specification; a diagonal lay or a large-format tile increases wastage and cutting compared with a standard grid lay.
- Check interfaces with waterproofing and falls to gullies in wet areas, where the tiling and the waterproofing package often get measured by different people and quietly disagree.
The accuracy of a Bill of Quantities depends directly on the quality of information the client and design team supply. Where a detail is missing, incomplete, or ambiguous, that is a clarification to raise, not a gap to fill with a guess. Record every drawing reference and assumption as you go, because that record is what makes a later variation defensible rather than a debate.
Pro Tip: If a wet room's fall diagram and its tiling layout come from two different drawings, cross-check them side by side before you measure. Mismatches here are one of the more common sources of post-contract disputes over tiling scope.
What does a tiling BoQ line actually look like?
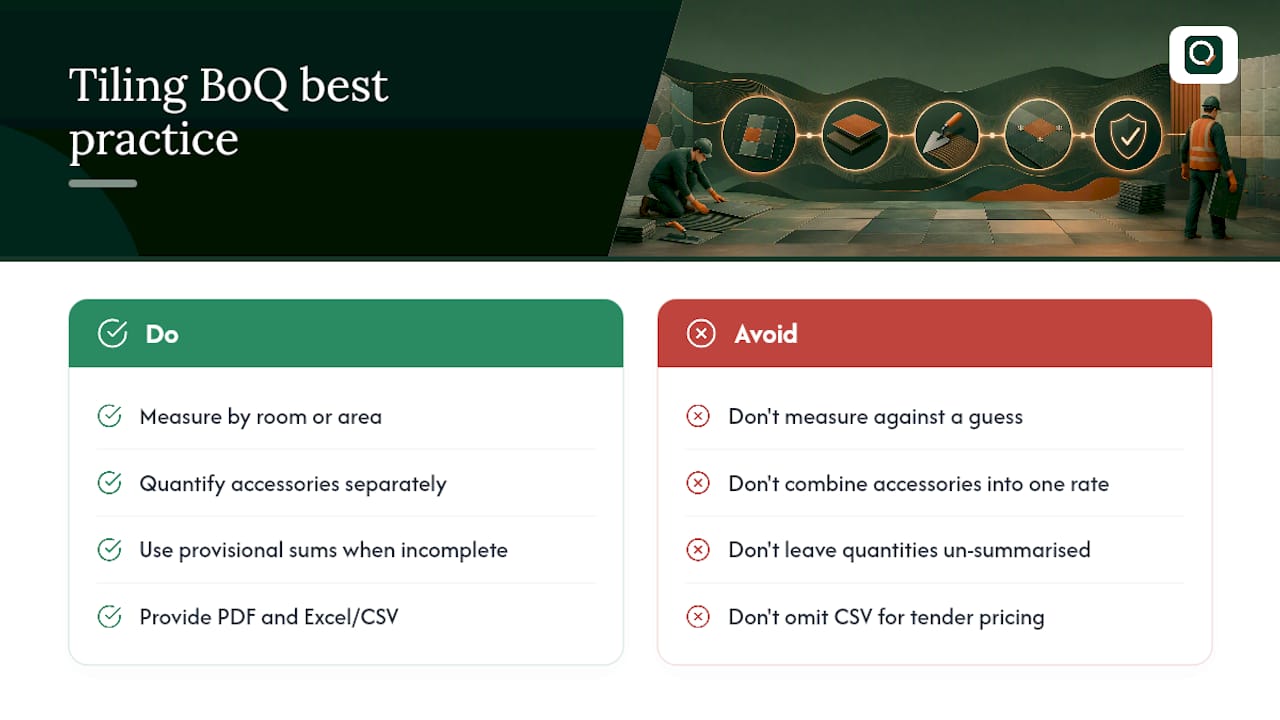
Once measured, tiling quantities sit within the finishes work section of the BoQ, generally after preliminaries and structural or envelope items, and are typically summarised at the front of that section before the detailed lines. Practitioner best practice treats tiling as a room or area-based quantity, with accessories and interface items quantified separately so a contractor cannot read ambiguity into a combined rate.
A typical set of lines for one bathroom package might look like this:
Where the specification is genuinely incomplete, a provisional sum is the honest way to flag it rather than measuring against a guess. For sign-off, export a clean PDF; for tender pricing analysis, contractors will want the same figures in Excel or CSV so they can build up rates line by line, a distinction worth setting out in more detail in a dedicated BoQ pricing guide.
How Quantiflow fits into an NRM2 tiling takeoff
Quantiflow reads construction drawings and produces a draft Bill of Quantities for a quantity surveyor to review and sign off. It's built for the exact stage this guide covers: turning a marked-up drawing set and specification into structured, traceable quantities before pricing begins.

A platform like this is most useful where consistency and an audit trail matter, for example, keeping room-by-room references logged the way the QA checklist above sets out, without replacing the professional judgement a tiling description like the ones in the example BoQ still needs. The draft output stays a draft: you're reviewing tile types, substrate assumptions, and provisional sums before anything goes to tender, in the same way you would review a colleague's takeoff. Quantiflow is currently in development, with plans running from Solo at £69 per month to Business at £299 per month, and Enterprise pricing available on request. If a structured starting point for your next tiling BoQ would help, visit the Quantiflow product page to learn more or start a trial.
Where to check the rules yourself
Don't take a summary as the final word on measurement rules that affect price risk. Go to the source documents directly, particularly for edge cases your project throws up that a general guide can't anticipate.
- The full NRM2 detailed measurement PDF for BoQ composition, templates, and classification levels.
- The NRM2 October 2022 update (RICS) for the latest clarifications on information requirements and QS responsibilities.
For background on how NRM2's work sections fit together more broadly, Quantiflow's NRM2 primer is a reasonable starting point before you go to the RICS documents themselves.
Sources
FAQ
What unit is tiling measured in under NRM2?
Wall and floor tiling is measured in square metres (m²) under NRM2 Section 28. Trims, edge beads, and thresholds are measured separately, either as a linear metre rate or as a number (nr).
Where should movement joints appear in a tiling takeoff?
Movement joints are treated as distinct from the general tiled area and should be flagged during the QA check on cuts, abutments, and interfaces. They're easy to miss because they don't show consistently on every drawing type, so cross-checking floor and wall details together matters here.
How do I treat thresholds in a tiling BoQ?
Thresholds sit as their own line item, typically measured in linear metres or as a number, rather than being absorbed into the adjoining tiled area's m² rate. Keeping them separate avoids ambiguity when a contractor prices a transition between two different floor finishes.
Can I use BIM model quantities instead of measuring from 2D drawings?
Model-based quantities can speed up extraction, but they still need validating against the drawings at the agreed Level of Development before use. NRM2 remains the governing structure regardless of where the raw quantities came from, so a model output is a starting point for review, not a finished BoQ.
What does Quantiflow cost for a tiling takeoff workflow?
Quantiflow's Solo plan runs at £69 per month and Business at £299 per month, with Enterprise pricing available on request. Both plans support drafting NRM2-aligned quantities from drawings for a quantity surveyor to review and sign off.
Recommended
- NRM2 Ready 5 Step Structural Steel Takeoff for UK Estimators
- Six Steps to an Audit Ready Cut and Fill Takeoff for UK QSs
- Audit Ready Electrical Takeoff for QSs: 5–15 Minute NRM2 QA
- How to do a roofing takeoff from plans: NRM2 guide
This article is for general information only and is not professional, legal or commercial advice. Quantity surveying decisions should be taken by a qualified professional with reference to the specific project, drawings and contract in question. Content is produced with AI assistance and reviewed before publication. QuantiFlow Ltd accepts no liability for reliance on it.