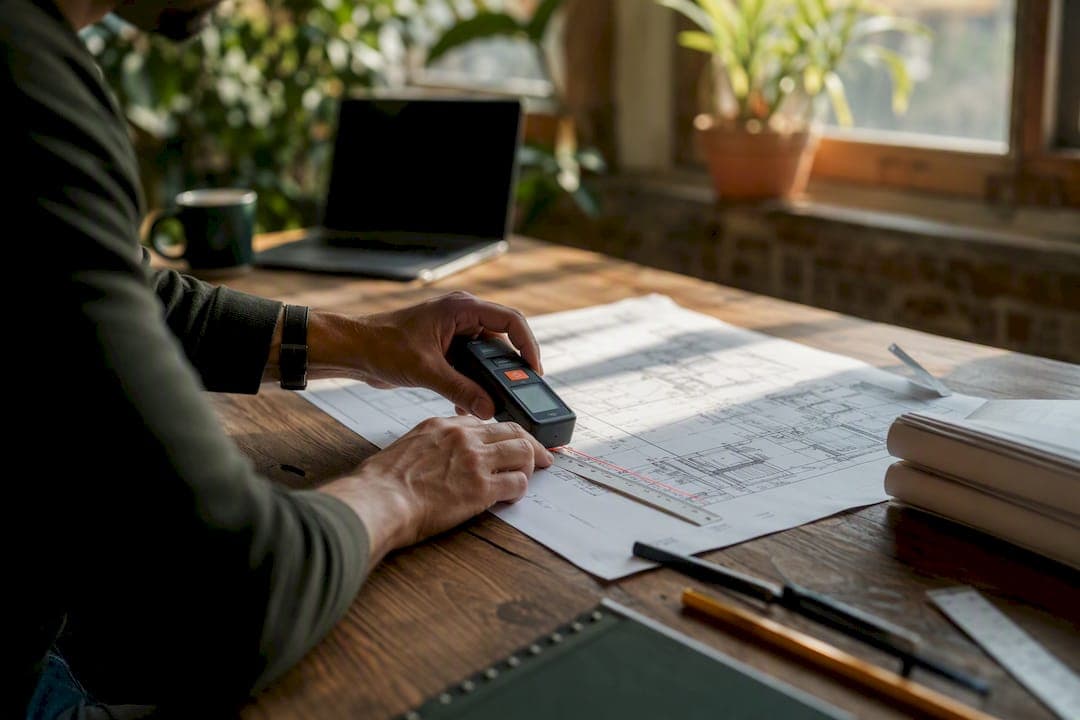
A two-point calibration against a known dimension is what actually fixes PDF scale, and it takes under a minute. Pick a line of known length on the drawing, measure it with the tool, tell the software what it should be, and every subsequent measurement inherits that ratio.
- Open the measure tool and select the distance or calibrate option
- Click two points on a line of known real-world length
- Enter that length plus units, then apply
- Measure a second known dimension and check the error for accuracy
Skip that last step and you're trusting a number you haven't tested. More on why that matters below.
Key Takeaways
Reliable PDF measurements depend on calibrating against a known real-world length and then verifying with a second, independent measurement before trusting any takeoff figure.
| Point | Details |
|---|---|
| Calibrate with two points | Select a long, known-length reference line rather than a short one to reduce click error. |
| Always verify | Measure a second known length and calculate percent error before relying on results. |
| Enable snapping | Snap-to-content locks clicks to vector geometry instead of approximate cursor position. |
| Watch for scan issues | Low DPI scans and rotated sheets are common causes of residual scaling error. |
| Scale up with Quantiflow | For repeated, auditable NRM2-aligned takeoffs across full drawing sets, Quantiflow automates the process manual calibration can't easily replicate. |
Table of Contents
- What is PDF scale calibration and how do you do it?
- Step-by-step: calibrate using the measuring tool
- How do you manually enter a known scale ratio?
- What if measuring tools are missing or disabled?
- How do you verify accuracy and fix residual errors?
- When does manual calibration stop being enough?
- Ready to move past manual calibration?
- Official docs and community pages to consult next
- Frequently asked questions
- Sources
What is PDF scale calibration and how do you do it?
Pdf scale calibration is the process of telling a PDF viewer's measuring tool the true real-world distance between two points on a drawing, so every measurement it produces afterwards is accurate rather than guessed. Most PDF editors ship with a generic default scale that has nothing to do with your drawing. Skip calibration and every length, area, and volume you pull from the page is fiction dressed up as data.
The two-point method is the industry standard because it's verifiable. You're not trusting a title block, a scan setting, or an assumption about print size. Instead, you're anchoring the software to something you can measure with a tape or already know for certain: a door opening, a structural grid spacing, or a printed scale bar.
Adobe's own documentation on measure tools and scale settings confirms this is the intended workflow, not a workaround. The same logic underpins the scale calibration process in Bluebeam, PDF-XChange, and most serious construction-focused PDF apps. Learn it once and it transfers everywhere.
Step-by-step: calibrate using the measuring tool
The mechanics vary slightly between apps, but the sequence is near-identical across the tools quantity surveyors and builders actually use day to day.
- Open the measuring tool. Look for a ruler or dimension icon on the toolbar, usually under a "Measure" or "Tools" menu. In some apps this sits inside a "Comment" or "Markup" panel instead.
- Select distance or calibrate mode, not area or perimeter, for this first step.
- Pick your two reference points. Choose a long, unambiguous line rather than a short one. A 900mm door opening gives you more forgiving click tolerance than a 50mm dimension line.
- Enter the known real-world length and unit when prompted. PDF-XChange, for instance, requires the unit alongside the number before it will apply the calibration.
- Apply the scale and choose its scope: current page only, a page range, or the whole document. Multi-sheet drawing sets often need page-by-page calibration if sheets were exported at different scales.
Bluebeam's support documentation notes that calibration can be set with separate X and Y scales when a scan or export has stretched a drawing unevenly, and that scale presets can be saved for reuse across similar sheet sets.
Many apps offer a keyboard shortcut for calibration, PDF-XChange uses Ctrl+Shift+C, which is worth learning if you calibrate drawings often. Holding Shift while clicking usually constrains your line to a straight horizontal or vertical angle, which helps when the reference line isn't perfectly level on the page.
Pro Tip: Turn on snap-to-content or snap-to-path before you calibrate. It forces your click to lock onto the actual vector line in the drawing rather than wherever your cursor lands, which removes most of the click error that ruins a calibration before it starts.
How do you manually enter a known scale ratio?
If the title block already states the drawing's scale, you don't need a reference line at all. You can key the ratio in directly, provided your tool accepts a scale-ratio input rather than only two-point calibration.
- Convert the printed scale into the input format your tool expects. A drawing marked ¼" = 1'0" typically becomes an input of 1 unit (on paper) equals 4 feet (in reality), depending on how the dialog is phrased.
- Set precision and fractional display so measurements read in a format useful for takeoffs, fractional inches for imperial jobs, two decimal places for metric.
- Use separate X and Y scales only when you have reason to, such as a scanned sheet that's visibly stretched in one direction.
- Save the scale as a preset if your software allows it, so the next sheet at the same scale doesn't need re-entry.
Manual entry is faster when you trust the title block. Two-point calibration is safer when you don't, and scanned or re-exported PDFs frequently have a scale ratio that no longer matches what's printed on the page.
What if measuring tools are missing or disabled?
Every major PDF editor puts calibration in roughly the same place, though the exact menu wording differs.
- Look under "Measure," "Tools," or a ruler icon in the toolbar or right-click context menu, most desktop editors group calibration alongside distance and area tools.
- Check preferences for units, precision, and measurement markup before you start, some apps default to inches or millimetres regardless of your drawing's origin.
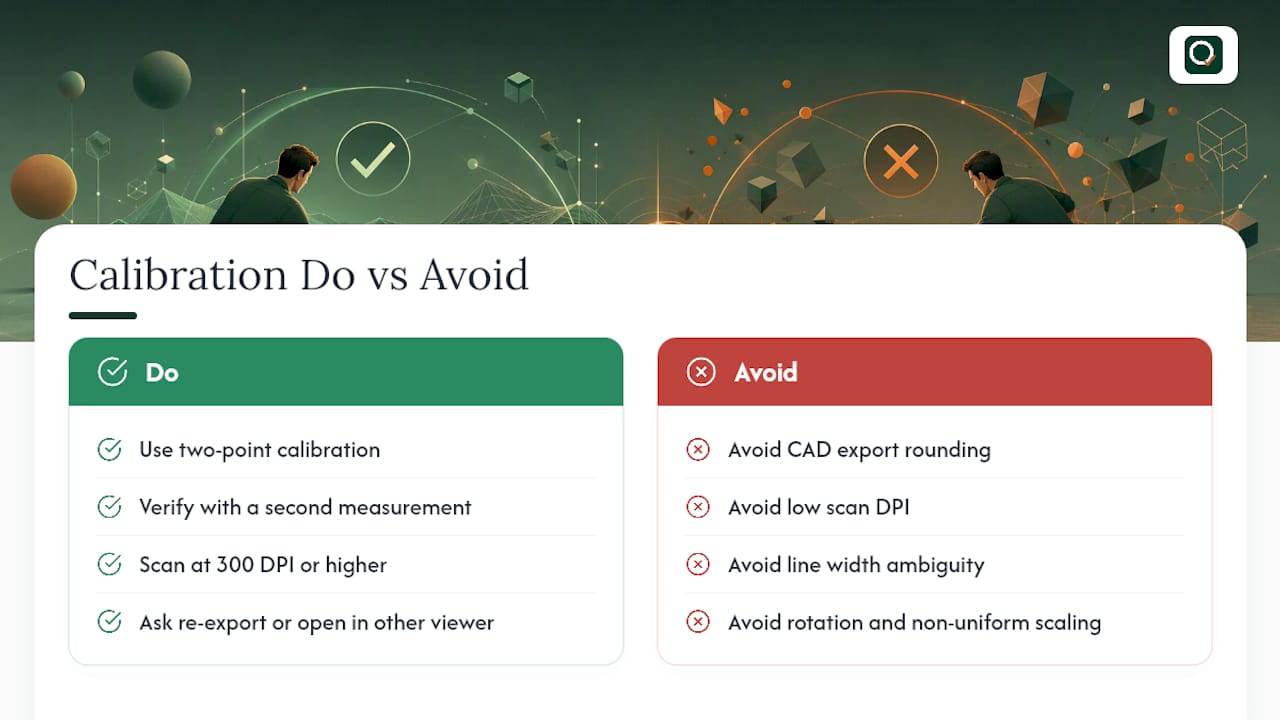
- If the measure tool is greyed out or absent entirely, the PDF was likely exported with measuring markup disabled. Ask whoever produced it to re-export from CAD with measurement enabled, or try opening it in a different viewer.
- For scanned drawings, look for a long printed scale bar or a known fixed object, a standard door width, a parking bay, rather than a short dimension string that will amplify click error.
- Browser-based tools such as Measure PDF let you set a scale and annotate measurements without installing anything, a reasonable stopgap when a desktop app isn't available or a colleague sends you a link rather than a file.
Higher-resolution scans always help. A 150 DPI scan makes precise point placement genuinely difficult; 300 DPI or higher gives you clean edges to snap to.
How do you verify accuracy and fix residual errors?
Calibrating once isn't the finish line. Measure a second known length, a different door, a different grid bay, and calculate the percent error: subtract the measured value from the known value, divide by the known value, multiply by 100.
A worked example: your reference door is a known length, and the software returns a value close to that on a second, independent check. Small percentage errors within a certain tolerance are generally acceptable for estimating work. Larger discrepancies indicate a problem with the calibration or the drawing itself.
Adobe's own user community has been candid about this for years: the measuring tool was never built to guarantee engineering-grade precision, and rounding, line width, and manual click placement all introduce small discrepancies. Verification isn't optional caution, it's the only way to know your calibration actually held.
When the second check fails, work through this list:
- CAD export rounding — units can shift slightly when a drawing moves from CAD software to PDF, especially across metric/imperial boundaries.
- Line width and anchor point — are you measuring to the centre of a line or its edge? Thick lines on scanned drawings make this ambiguous.
- Scan distortion and low DPI — a poor scan can stretch a drawing unevenly across the page.
- Rotation or non-uniform scaling — a sheet rotated slightly during scanning throws off straight-line measurements disproportionately.
- Re-scaled prints — a PDF printed to "fit page" from an original CAD file often loses its stated scale entirely.
Mitigate with longer reference lines, snap-to-content enabled, a re-export from CAD with correct units confirmed, a higher-DPI rescan, or separate X/Y calibration where distortion is directional rather than uniform.
A residual error under roughly 1% is generally fine for a quick estimate or a sense-check measurement. Anything higher, or any measurement feeding into a priced Bill of Quantities, calls for a more rigorous, auditable measurement workflow rather than a one-off manual fix.
When does manual calibration stop being enough?
Manual two-point calibration is genuinely fine for a single sheet, a quick sense-check, or a low-risk estimate where nobody's going to query the number six months later. It's fast, it's free, and it teaches you to read a drawing properly.
Where it breaks down is repeatability. Recalibrating forty sheets by hand, keeping a consistent audit trail across a full NRM2-aligned takeoff, and proving to a client exactly how a quantity was derived, that's a different job entirely, and it's the gap Quantiflow was built to close.
Ready to move past manual calibration?
Quantiflow is the faster route to a priced Bill of Quantities once you've outgrown one-sheet manual checks. Instead of recalibrating each page by hand and hoping your verification check catches every stretched scan, Quantiflow's AI reads the drawing set, cross-references quantities automatically, and keeps every measurement traceable back to its source, without losing the quantity surveyor's professional judgement at the points that matter most.

That means consistent scaling across an entire drawing set in one pass, batch processing instead of sheet-by-sheet recalibration, and an audit log a client or auditor can actually follow. Pricing runs from Solo at £39 a month through to Business at £149, with custom Enterprise plans for larger teams. If your next project involves more than a handful of sheets, start with QuantiFlow and see what an automated, NRM2-aligned takeoff looks like on your own drawings.
Official docs and community pages to consult next
- Adobe's measure and scale documentation covers precision settings and markup.
- Bluebeam's page scale guide explains X/Y scales and presets.
- Acrobat's community forum covers disabled-measurement fixes.
Frequently asked questions
What is the most reliable way to calibrate a PDF's scale? Two-point calibration against a known real-world length, verified with a second independent measurement, is the most reliable method available in standard PDF viewers.
Why does my PDF measuring tool give inaccurate results even after calibration? Residual error usually traces back to CAD export rounding, low scan DPI, line width ambiguity, or rotation and non-uniform scaling introduced during scanning or printing.
Can I calibrate a scanned PDF the same way as a native CAD export? Yes, but use a long printed scale bar or known fixed object as your reference, and scan at 300 DPI or higher for cleaner point placement.
What percent error is acceptable for construction takeoffs?
What should I do if the measuring tool is greyed out in my PDF? Ask the sender to re-export the file from CAD with measurement markup enabled, or try opening the drawing in an alternative viewer or browser-based measuring tool.
Sources
- Measure objects and use guides, grids, and rulers in Acrobat
- Set page scales | Bluebeam Technical Support
- How do I use the calibration tool in the Editor?
- Do you have a disclaimer or documentation explaining that the measuring tool is not exact? (Acrobat Reader)
- Measure PDF Online – Area, Perimeter & Distance Measurements | i2PDF