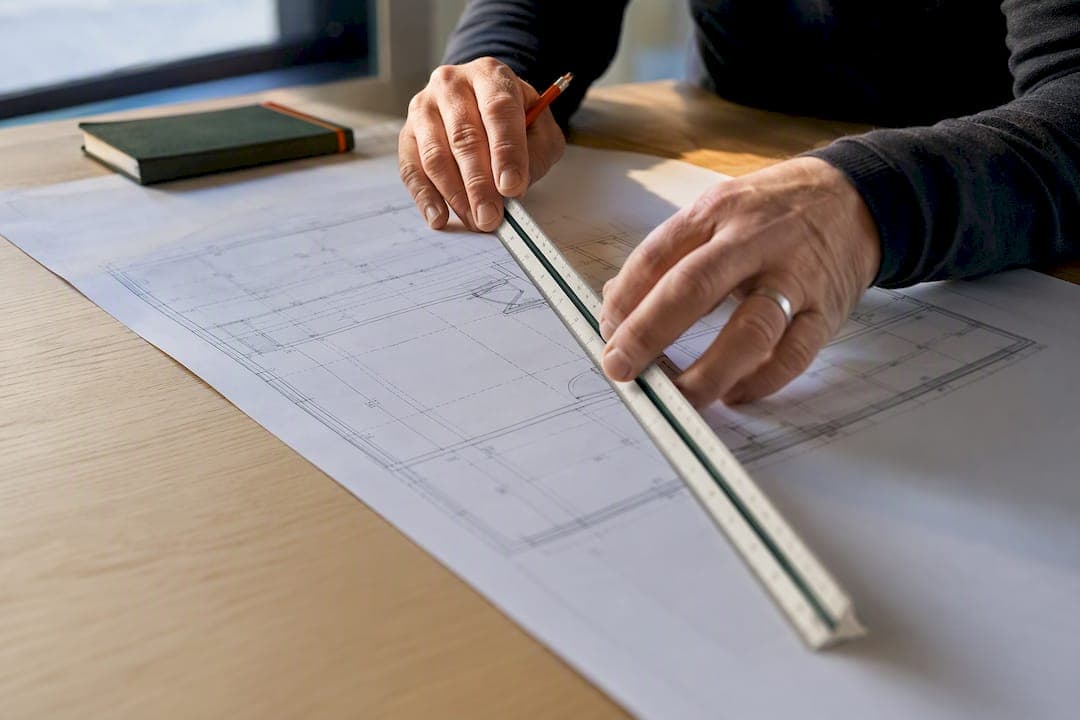
A reliable painting takeoff comes from a screen-based, NRM2-aligned workflow that stays traceable from drawing to Bill of Quantities. That means five steps in sequence: calibrate the drawing, measure walls, ceilings and trim, adjust for coats and coverage, map the results into your BoQ structure, and run a quality check before pricing begins. Skip any one of these and the numbers you hand to the pricing team become guesswork.
TL;DR:
- Accurate takeoff results depend on calibrating and verifying drawing scales against known dimensions before measuring areas or linear elements.
- Measuring room heights from elevations and ceilings from plans prevents double-counting and omission errors during data collection.
- Adjustments for coverage, coats, and wastage fluctuate based on material porosity, surface type, and actual application conditions; allowances should be documented explicitly.
- Mapping quantities into the BoQ must include substrate details, coat numbers, and specific preparation notes to ensure clarity for the pricing team.
- Using traceable, room-by-room measurement methods with proper markup records significantly reduces the risk of omissions and improves auditability.
Table of Contents
- Prep and calibrate drawings before you measure
- Measuring walls, ceilings and trim: an on-screen sequence
- Adjustments: coats, coverage and converting area to litres
- Mapping measured quantities into the NRM2 / BoQ structure
- Quality control: making the takeoff audit-ready
- Tools and technology for painting takeoffs
- QuantiFlow: a draft BoQ route worth knowing about
- Sources
- FAQ
Prep and calibrate drawings before you measure
Every painting takeoff starts with a drawing you can trust, and that trust has to be earned before you draw a single measurement line. The first job is setting scale against a known dimension on the sheet, such as a door width or a dimensioned grid line, then confirming the drawing states its units clearly in metres or millimetres. A drawing that looks to scale but has not been checked against a known reference is the single most common source of takeoff error, and it is entirely avoidable.
Once scale is verified, organise your measurement environment before touching a wall. Modern takeoff workflows measure areas directly on PDF drawings and attach visible markups to the underlying measurement record, which is what makes the figures checkable later by someone else, as Bluebeam's guidance on construction takeoffs sets out.
Structure your work with separate layers or groups for:
- Walls, split by room or elevation
- Ceilings, including any sloped or vaulted sections
- Joinery and trim (skirtings, architraves, door and window linings)
- Openings and voids that need separate treatment
- Temporary markups and query flags for the review stage
Scanned or rastered drawings deserve extra caution. Where possible, request vector PDF originals from the design team rather than working from a flattened scan, and if that is not available, calibrate against at least two known reference dimensions rather than one. Sloped ceilings, curved walls and irregular voids will always need a judgement call on how closely a flat area measurement matches the real surface, and that limitation is worth noting in your working file, not discovered by the pricing team later.
Measuring walls, ceilings and trim: an on-screen sequence
Measurement technique matters as much as the tool. Getting the sequence right protects you from the two failure modes that dominate painting takeoffs: double-counting and omission.
- Set your elevation method first. For most rooms, measure wall area as height multiplied by width taken directly from the elevation drawing rather than scaling up a plan projection, since plan-based estimates tend to miss changes in ceiling height between rooms.
- Measure ceilings from the floor plan in the majority of cases, switching to an elevation-based takeoff only where sloped ceilings, voids or split levels make a plan area measurement misleading.
- Take linear measurements for skirtings, architraves and handrails as a distinct pass, using the room perimeter as your base line and adjusting for door openings as you go.
- Tie every linear and area measurement to its room record immediately, rather than batching figures at the end of the day when the drawing context is easy to lose.
- Work room-by-room or element-by-element, never both at once within the same session, so you always know which method produced which figure.
- Attach the markup to the data record, not just the drawing view, so a colleague can trace every number back to its exact source line.
This sequence matters because a painting takeoff that mixes methods between rooms is almost impossible to audit later. Practical guidance for painters and estimators consistently recommends measuring from drawings in line with recognised measurement rules rather than relying on rough day-rate guesses, particularly once a project moves beyond a handful of rooms, according to tendering guidance for painting and decorating contractors.
Adjustments: coats, coverage and converting area to litres
A measured area is not a paint quantity until you have applied three corrections: coverage rate, number of coats, and practical allowances.
Manufacturer coverage figures printed on the tin are a starting point, not a guarantee. Real-world coverage on porous plaster, unfilled masonry or a heavy colour change often falls short of that figure, so treat the tin rate as an upper bound rather than a working assumption. Multiply your measured area by the number of coats required, which typically means one primer or mist coat plus two finish coats on new plaster, or two finish coats on a sound existing surface.
Build in allowances beyond the raw arithmetic:
- Cutting-in around openings, cornices and fittings, which uses proportionally more material than roller work
- Roller loading losses, particularly on textured or absorbent surfaces
- General wastage for mixing, spillage and tray residue
Pro Tip: Don't fully deduct every door and window opening from your wall area. Cutting in around frames and reveals consumes time and paint disproportionate to the area saved, so document the allowance you used in the BoQ notes rather than mechanically subtracting the full opening area, a point backed by practical guidance on estimating paint quantities for decorating work.
Mapping measured quantities into the NRM2 / BoQ structure
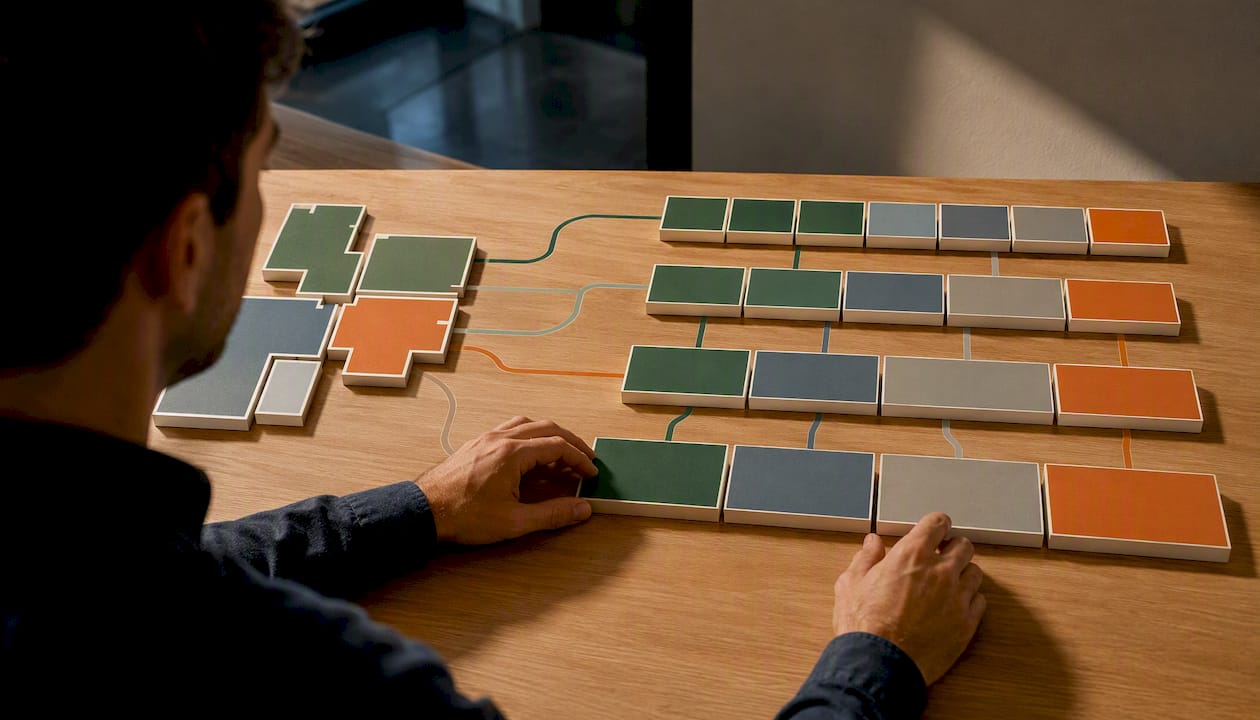
Once quantities are settled, they need a home in the Bill of Quantities that a pricing team can act on without guessing your intent. RICS's New Rules of Measurement sets the standard structure most UK quantity surveyors map finishes against, and painted finishes typically sit within the internal and external finishes sections, split by wall, ceiling and joinery categories.
Practical steps for a clean handover:
- Label each BoQ item with substrate, number of coats and any special preparation, not just a bare square metre figure
- Export working files as CSV or Excel alongside the formatted BoQ document, so the pricing team can query the underlying room-by-room figures
- Run a short reconciliation pass, checking that your total measured area against the drawing schedule matches the sum of your individual BoQ line items
- State any coverage or coat assumptions directly in the item description, rather than leaving them in a separate notes file that might not travel with the BoQ
Guidance on NRM2 for quantity surveyors is worth revisiting here, since inconsistent labelling between similar items is one of the more common causes of tender queries during pricing.
Quality control: making the takeoff audit-ready
A painting takeoff only earns its keep if someone else can check it without redoing the whole job. Build the review into your process rather than treating it as an afterthought.
- Run an independent room-by-room reconciliation, comparing your measured totals against the original drawing schedule area by area.
- Confirm the takeoff is traceable, meaning a second quantity surveyor could reproduce your figures from the marked-up drawing alone, without asking you what you meant.
- Check for the usual omissions: soffits, upstands, service penetrations, and any small areas hidden behind fixed furniture or plant.
- Reconcile the final total against an expected range before sign-off, flagging any figure that looks unusually high or low for the project type.
- Log the version of the drawing and the date of measurement, then sign off the schedule formally before it goes to the pricing team.
Pro Tip: Keep a simple version log, even a one-line spreadsheet entry per drawing revision. When a design change lands mid-tender, you need to know instantly which of your measured items are still valid and which need reworking.
A traceable, room-by-room measurement approach with a visible markup record is the strongest guard against omissions, and it is the method NRM2 measurement guidance for quantity surveyors recommends for exactly this reason.
Tools and technology for painting takeoffs
The right tool category depends on how the drawings arrive and how the pricing team wants the output structured.
- On-screen takeoff apps let you draw measurement markups directly onto PDF drawings, tie each markup to a data record, and export to CSV or Excel for pricing. This suits most painting takeoffs, where drawings arrive as PDFs rather than full building models.
- BIM or 5D model-based measurement makes sense on larger projects where a coordinated model already exists, though mapping model-derived quantities cleanly into NRM2 finish categories still needs a manual check.
- AI-assisted or automation tools typically offer draft quantities, automatic mapping suggestions and an audit log of what was measured and when. Before relying on one, verify how it handles openings, sloped surfaces and mixed-unit drawings, and check what questions to ask AI vendors before committing your workflow to it.
Whichever category you choose, the underlying discipline stays the same: measure, markup, export, review. A step-by-step guide to measuring PDF drawings for NRM2 takeoffs walks through the on-screen technique in more depth if you want to see it applied.
QuantiFlow: a draft BoQ route worth knowing about
If you would rather start from a draft than a blank measurement sheet, QuantiFlow reads construction drawings and produces a draft Bill of Quantities for a quantity surveyor to review and sign off. It is built for the stage after measurement, sitting alongside your own on-screen takeoff work rather than replacing it, and it does not remove the professional judgement calls covered above around coats, coverage and opening allowances.
Think of it as a way to get a structured starting point for your BoQ faster, one you then check line by line against the drawings the way you would check any draft prepared by a colleague. QuantiFlow is currently in development, and every draft it produces still needs a quantity surveyor's sign-off before it goes anywhere near a tender. If you want to see how the draft BoQ output looks against your own painting takeoff, you can find more detail on the QuantiFlow product page.
Sources
- Construction takeoffs guide (Bluebeam) — 2026
- Tendering and estimating for painting and decorating contractors — P&D Online
- NRM2 measurement guide for quantity surveyors — learndirect
FAQ
What is the best software for a painting takeoff?
There is no single best option; the right choice depends on whether you need a simple on-screen area tool, a full BIM-linked platform, or an AI-assisted route like QuantiFlow that drafts a Bill of Quantities from drawings for you to check and sign off.
How much should I pay a painter per hour in the UK?
Hourly and day rates for painters vary widely by region and job complexity, and no single UK-wide figure is reliably checkable, so base pricing on measured quantities from your painting takeoff and current local unit rates rather than a flat hourly assumption.
How much do you pay a painter per day?
As with hourly rates, day rates vary too much by location and scope to state a single reliable figure; a measured takeoff converted into unit rates gives a far more defensible basis for a quote than a day-rate guess.
Is PaintScout free?
PaintScout is a third-party estimating tool with its own pricing structure, not something Quantiflow can confirm details on; check the provider's own site directly for current plans before assuming a free tier applies.
Recommended
- Keep Tender Quantities Within ±5%: NRM2 Workflow for UK QS
- How to do a roofing takeoff from plans: NRM2 guide
- Concrete quantity takeoff: a practical guide for UK estimators
- How to measure PDF drawings for NRM2 takeoffs
This article is for general information only and is not professional, legal or commercial advice. Quantity surveying decisions should be taken by a qualified professional with reference to the specific project, drawings and contract in question. Content is produced with AI assistance and reviewed before publication. QuantiFlow Ltd accepts no liability for reliance on it.